|
I have create this
tutorial for my Scrapbookflair friends and for Dawn
challenge "Neat nameframes"
I normally use Paint
Shop Pro but for this tutorial I use Paint Net which is
a free program
There are more than one
way to achieve the same result this is how I did it
Since my program is in
french I use small arrow to show you the way
Sometimes you can also
access the tool by typing a letter
*********
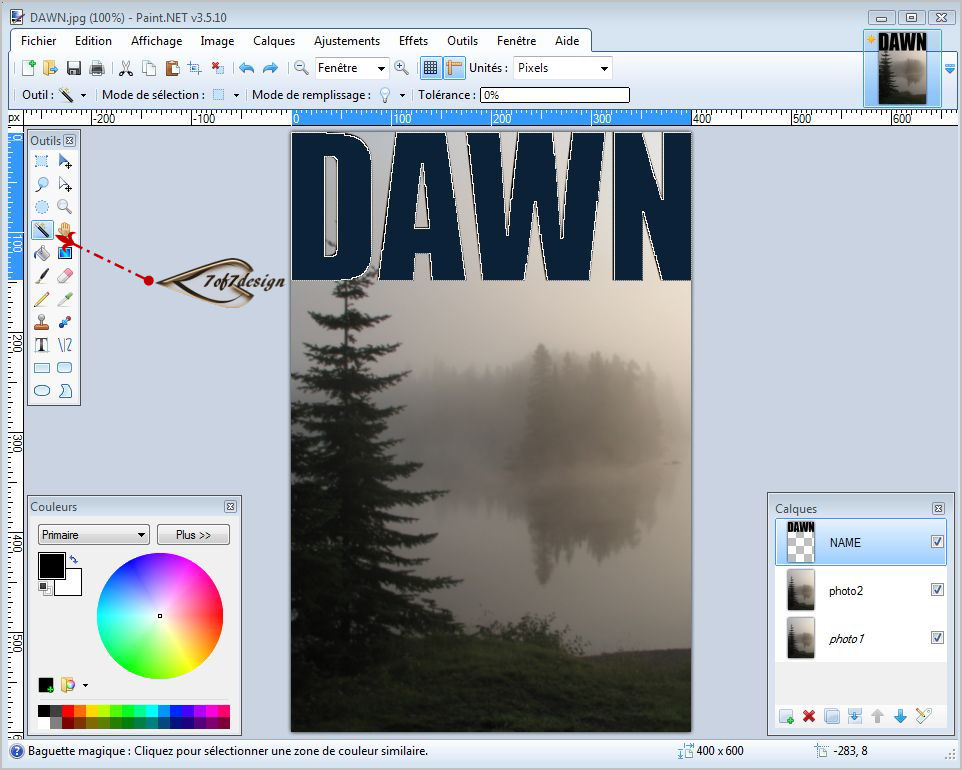
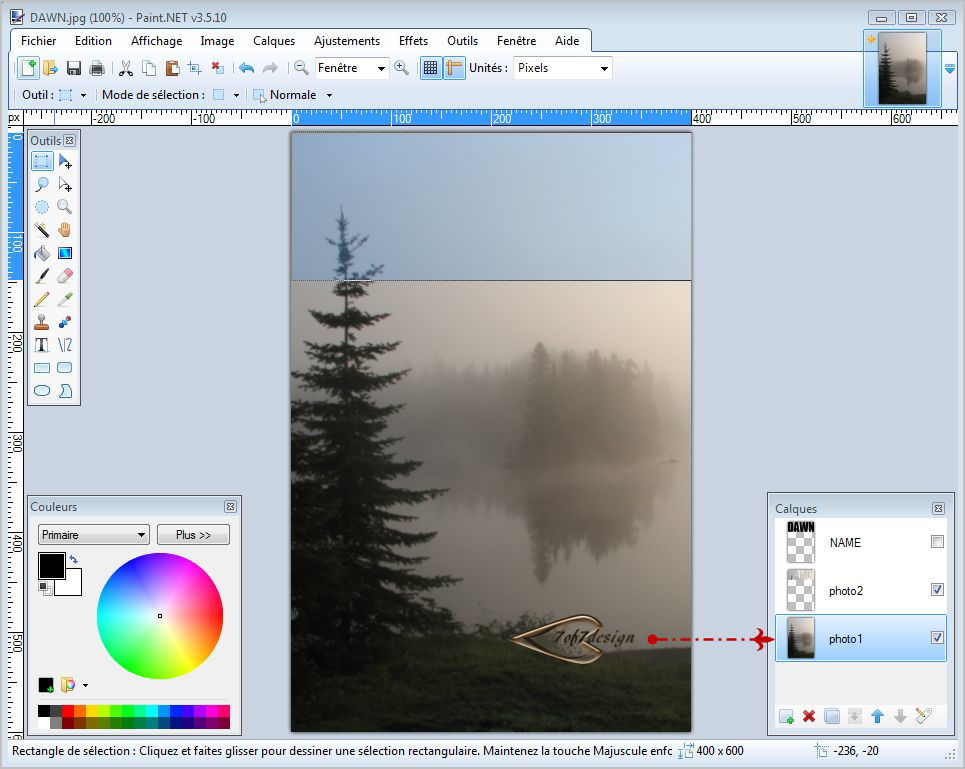
01: Import your picture in
Paint Net and rename it photo1 (double clic left on the
layer)

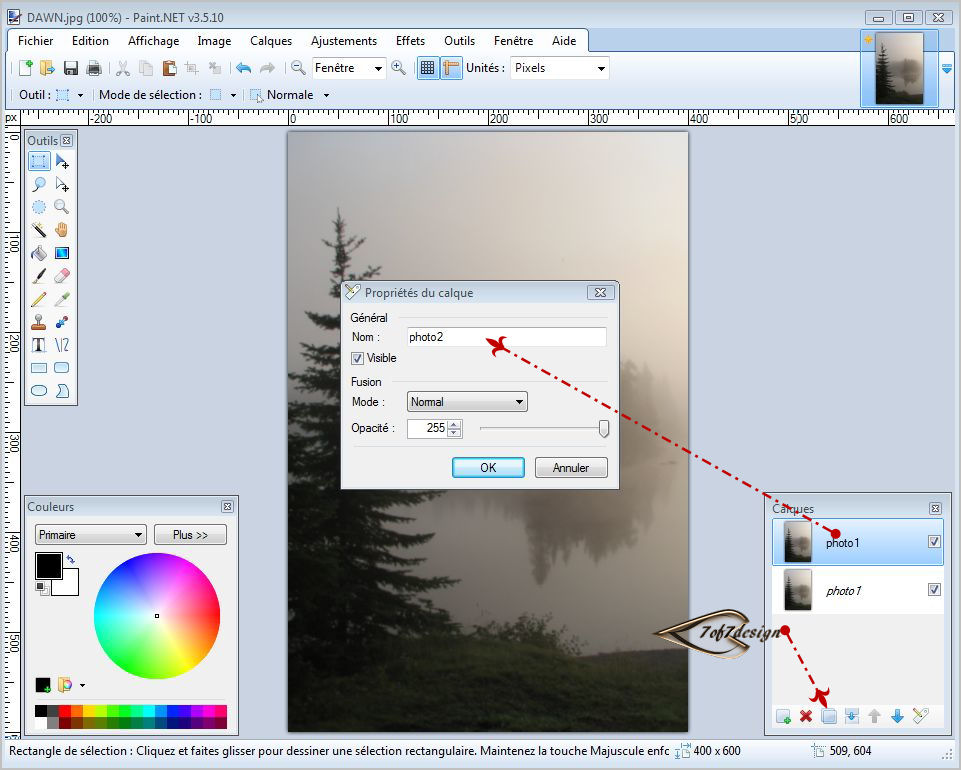
02: Duplicate the photo1
03: Rename it: photo2 (double clic left on the layer)
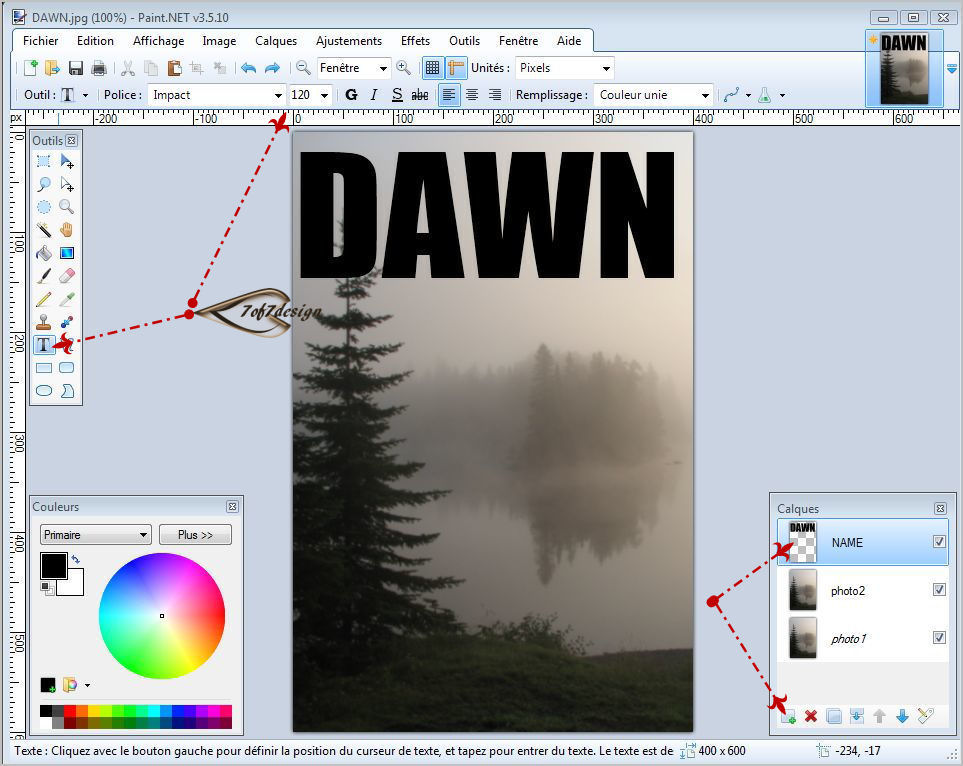
04: Select the tool for Text
05: Add a layer rename it:
NAME
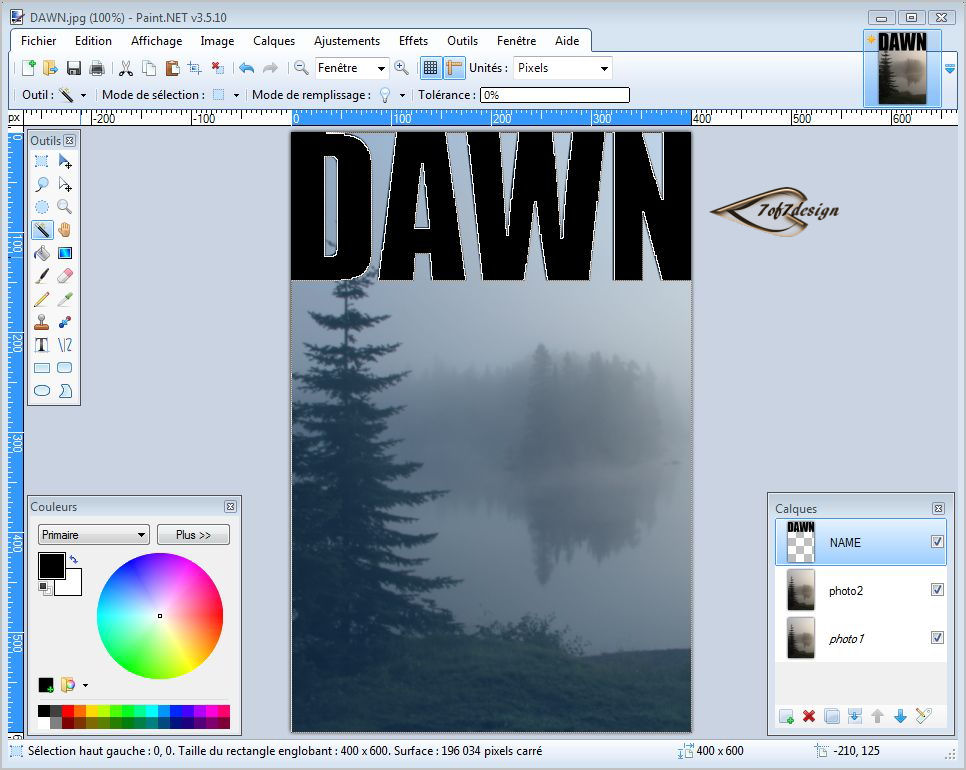
06: Start as near as you
can along the
border you have chosen (using the rule to
guide you)
07: Write the name you
want to use in capital letter
(ajust with the number to get the maximun length)
08: Select the tool that
will allow you to move your name in place
(press the letter M on your computer)
09: Ajust the name at it
place by using the small square at each side
(you will know that you
got it when a little hand appears)
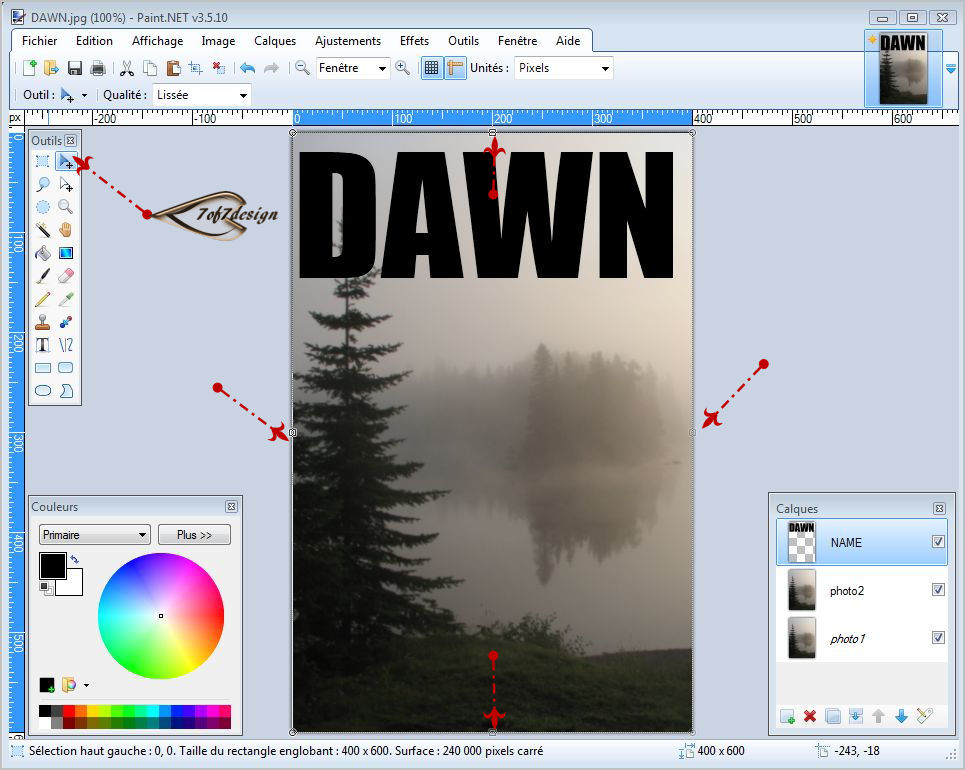
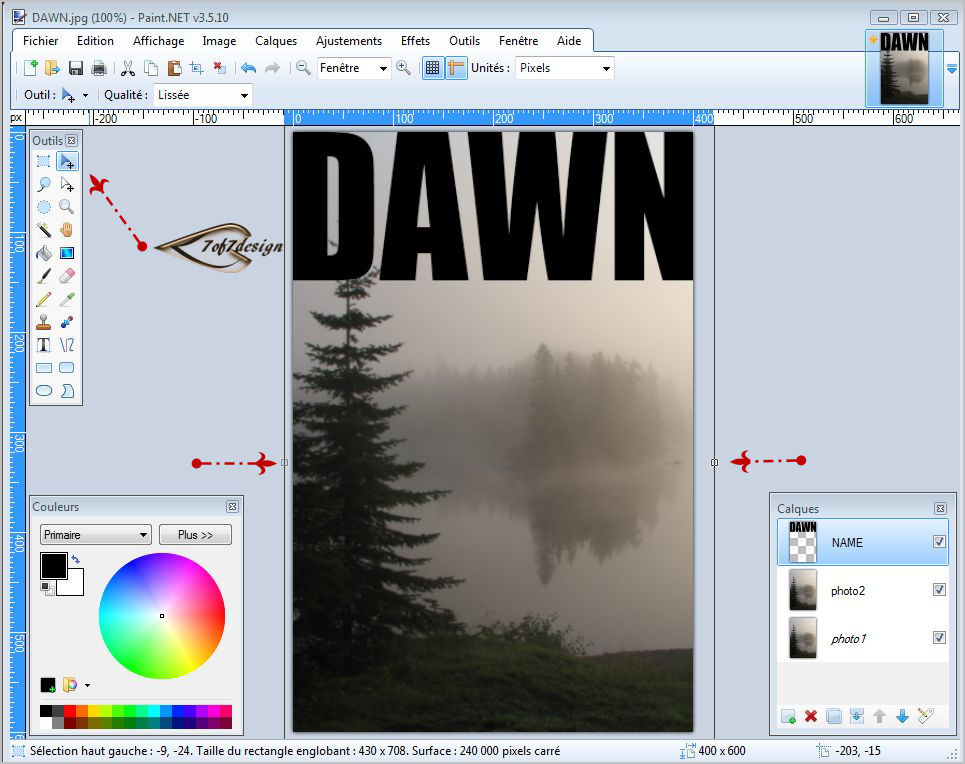
10: You can see where I
move the small "square" to place my name where I wanted
11: Using the tool "magic
wand" and pressing the
key "maj" at the same time
(just below the caps lock Key)
12: Select the inside of each the
letter (they will change colors)
13: Invert (reverse) the selection
using "Contr I"
(the letter are back to black are the rest is
blue)
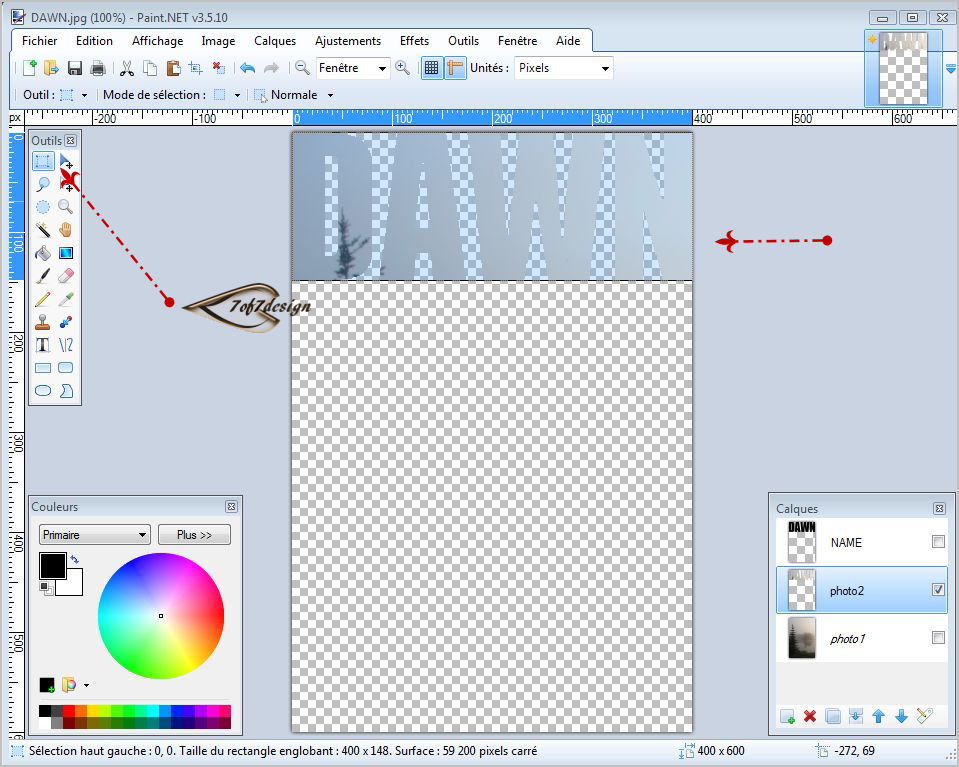
14: Select the layer "photo 2"
15: Make the layer "photo1"
invisible
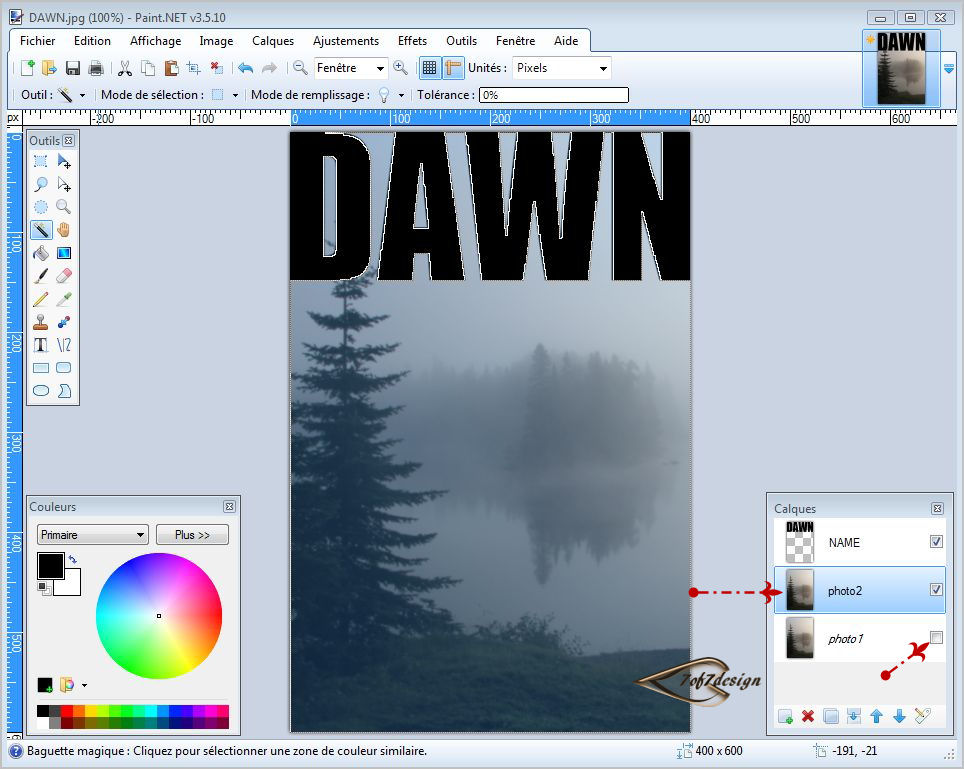
16: Cut using Ctrl+X (make sure
you are on the layer "photo2")

17: Make the layer "NAME"
invisible (you can see the name in
the photo)
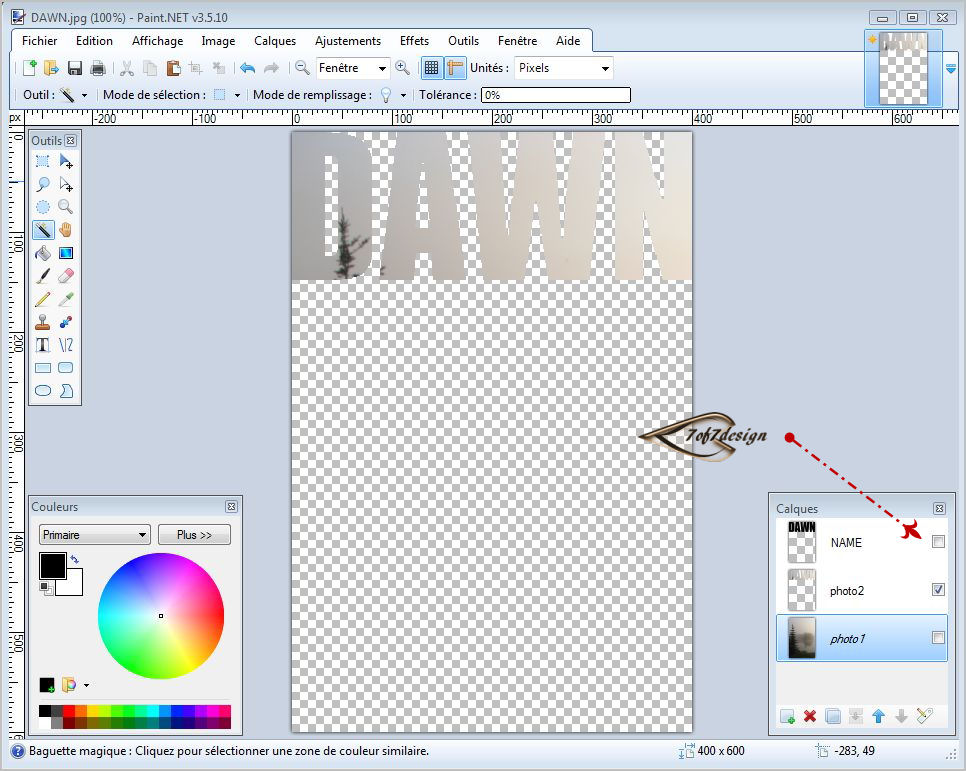
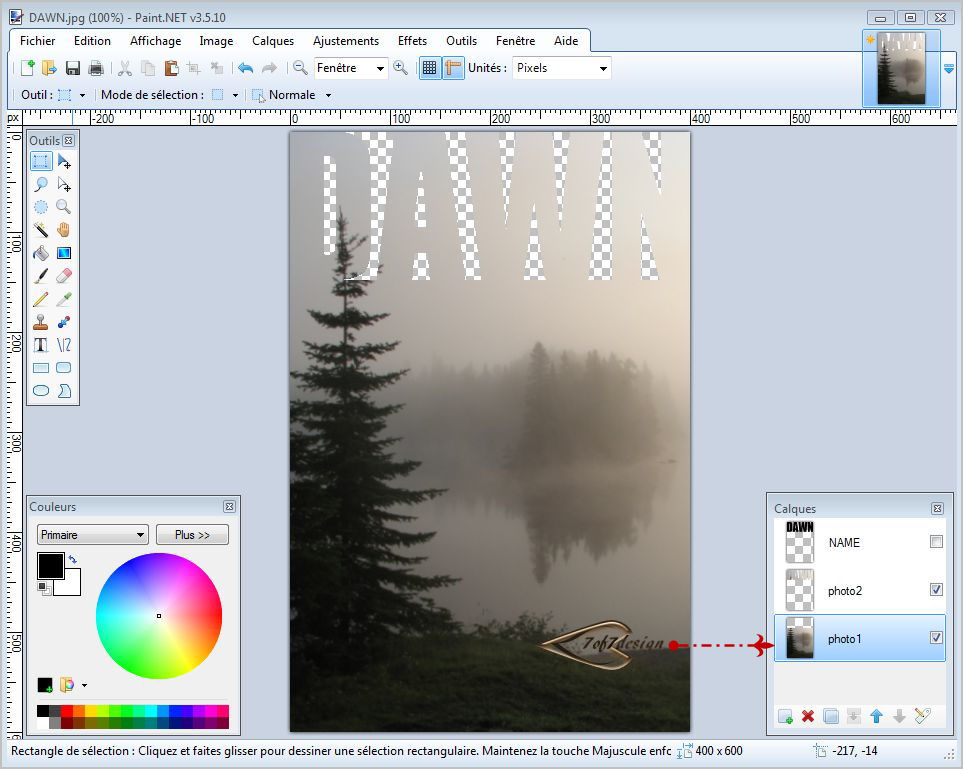
18: Press "S" on your
computer to select the tool that will allow you to make
a rectangle
19: Open the layer "photo1"
and make it active ( it will be blue)
20: Cut by using Ctrl+X
21: All you have to do now is "ctlr+maj+F" for fusion
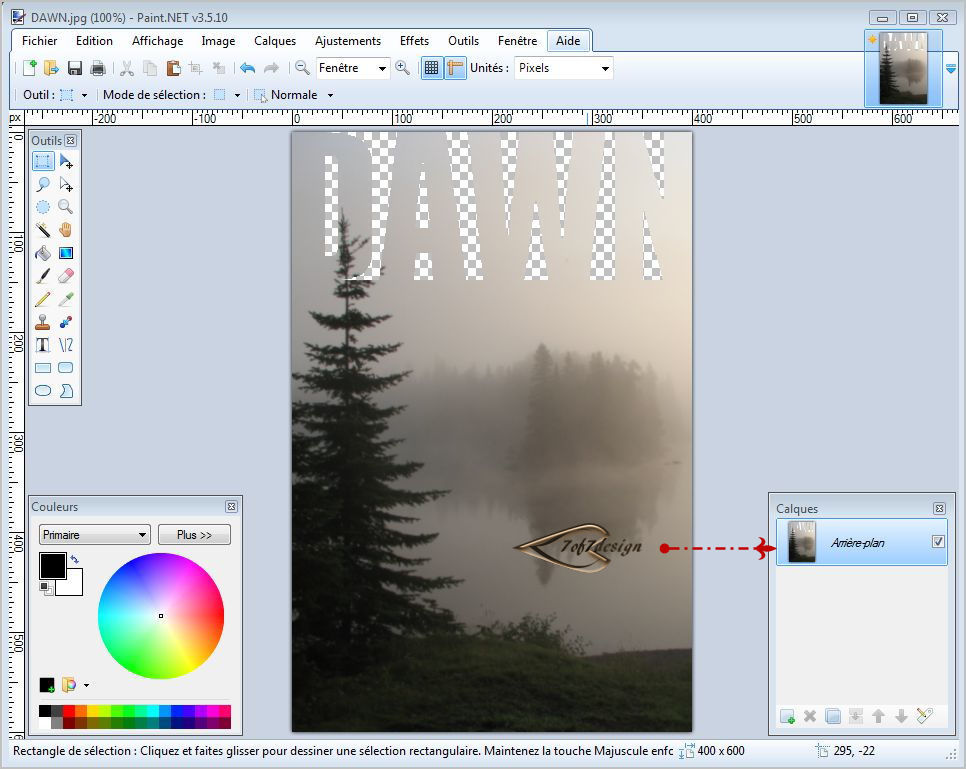
And "VOILÀ" now you can do your
scrapbook page

Hope this has being helpful
Jacqueline, septembre 2013
Toute reproduction interdite
|